EnvelopesComparison
Self-Seal vs Gummed Envelopes: Which Closure Fits?
Compare gummed, latex self-seal and peel-and-seal envelopes by sealing steps, machine compatibility and storage, with a stock verification checklist.
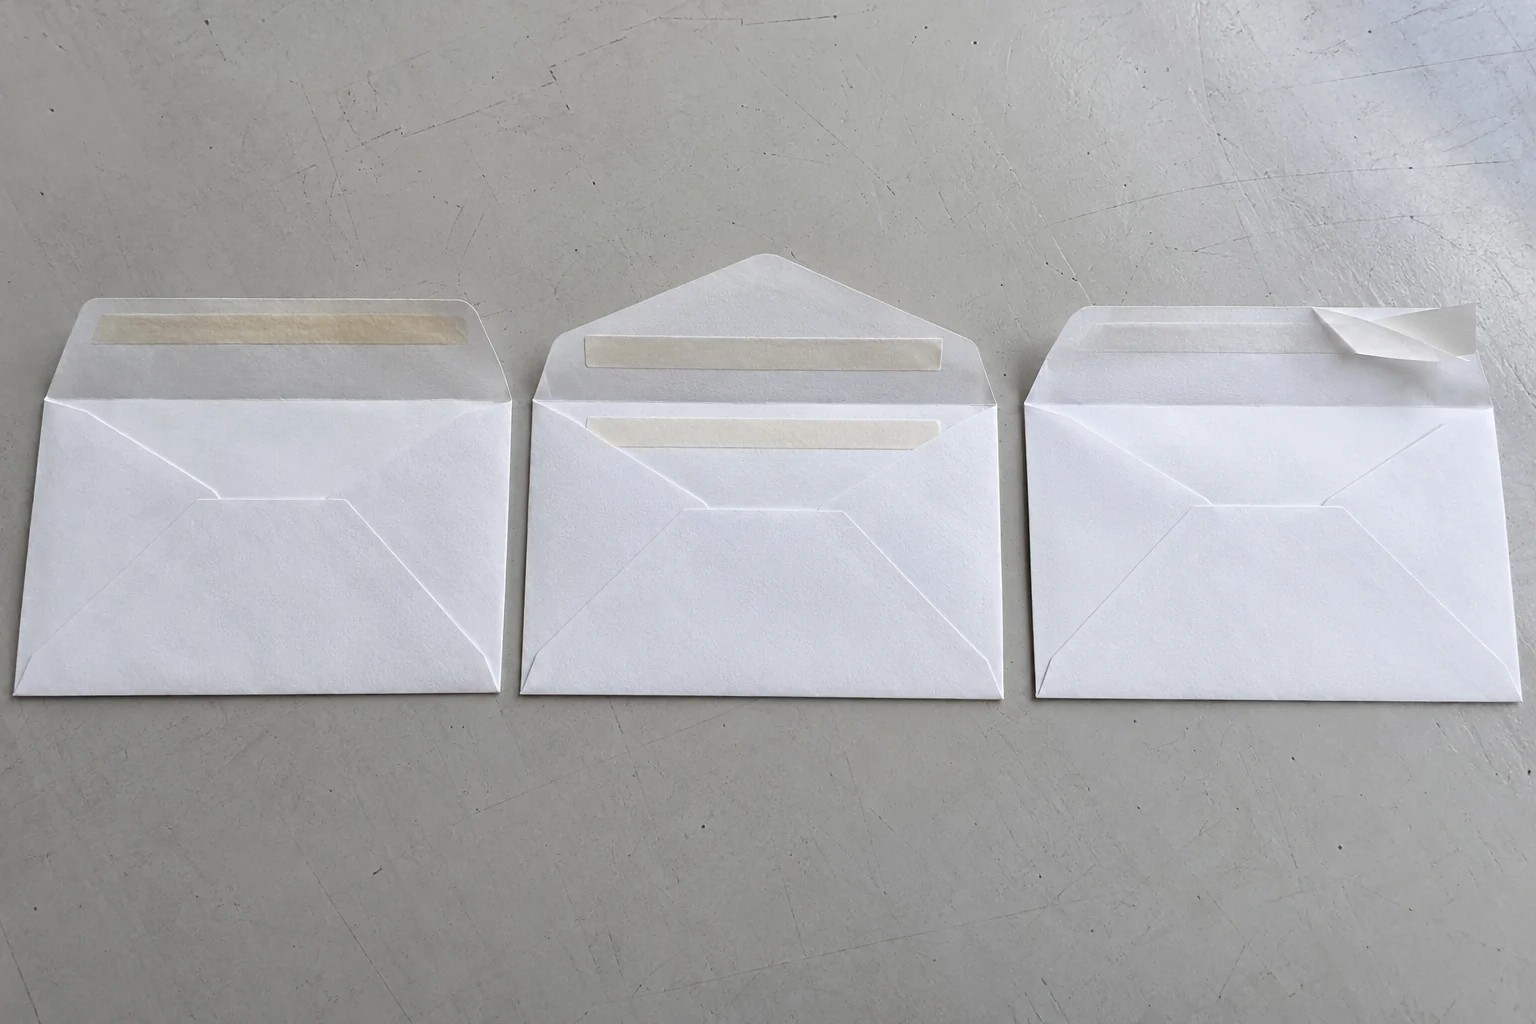
Choosing an envelope from the words “self-seal” alone can leave you with the wrong closure for your mailing workflow. Gummed envelopes need moisture; latex self-seal envelopes join two adhesive bands by pressure; peel-and-seal envelopes expose a protected adhesive band when you remove a liner.
Identify the adhesive mechanism before choosing a self-seal envelope. This comparison is for people buying, storing or hand filling paper mailing envelopes. It separates the three mechanisms, shows what changes on an inserting machine, and provides a record for checking the exact stock before buying a quantity.
Quick comparison: look at the flap, then the name
“Self-seal” can be used broadly for a closure that needs no water. Blake separates self-seal from peel-and-seal in its sealing guide; Tension also uses its own adhesive names. Ask for a flap photograph or sample rather than treating those names as a specification.
| Check | Gummed / remoistenable | Latex self-seal / cohesive | Peel-and-seal / liner-backed |
|---|---|---|---|
| What identifies it? | Dry gum on the seal flap | Two adhesive bands positioned to meet | Adhesive covered by a removable release liner |
| How do you close it? | Moisten, fold and press | Bring the two bands together and press | Remove liner, fold and press |
| Water needed? | Yes | No | No |
| Release strip to remove? | No | No | Yes |
| First workflow check | Is wetting available and consistent? | Do the bands align when filled? | Where will removed liners go? |
| Automatic sealing | Check the machine’s envelope specification | Require explicit machine approval | Do not assume the machine removes the liner |
| Shelf life of the stock you are buying | Unknown — verify for the exact stock | Unknown — verify for the exact stock | Unknown — verify for the exact stock |
The closure mechanisms follow the EMA guide, pages 24–25. The workflow checks are editorial recommendations, not measured speed or seal-strength comparisons.
Gummed envelopes: moisten the flap before pressing
A gummed envelope carries a dried adhesive coating that is reactivated with moisture. For hand sealing, an envelope moistener provides the wetting step before you fold and press the flap. Follow the envelope and moistener instructions; adding water without checking the resulting closure is not an acceptance test.
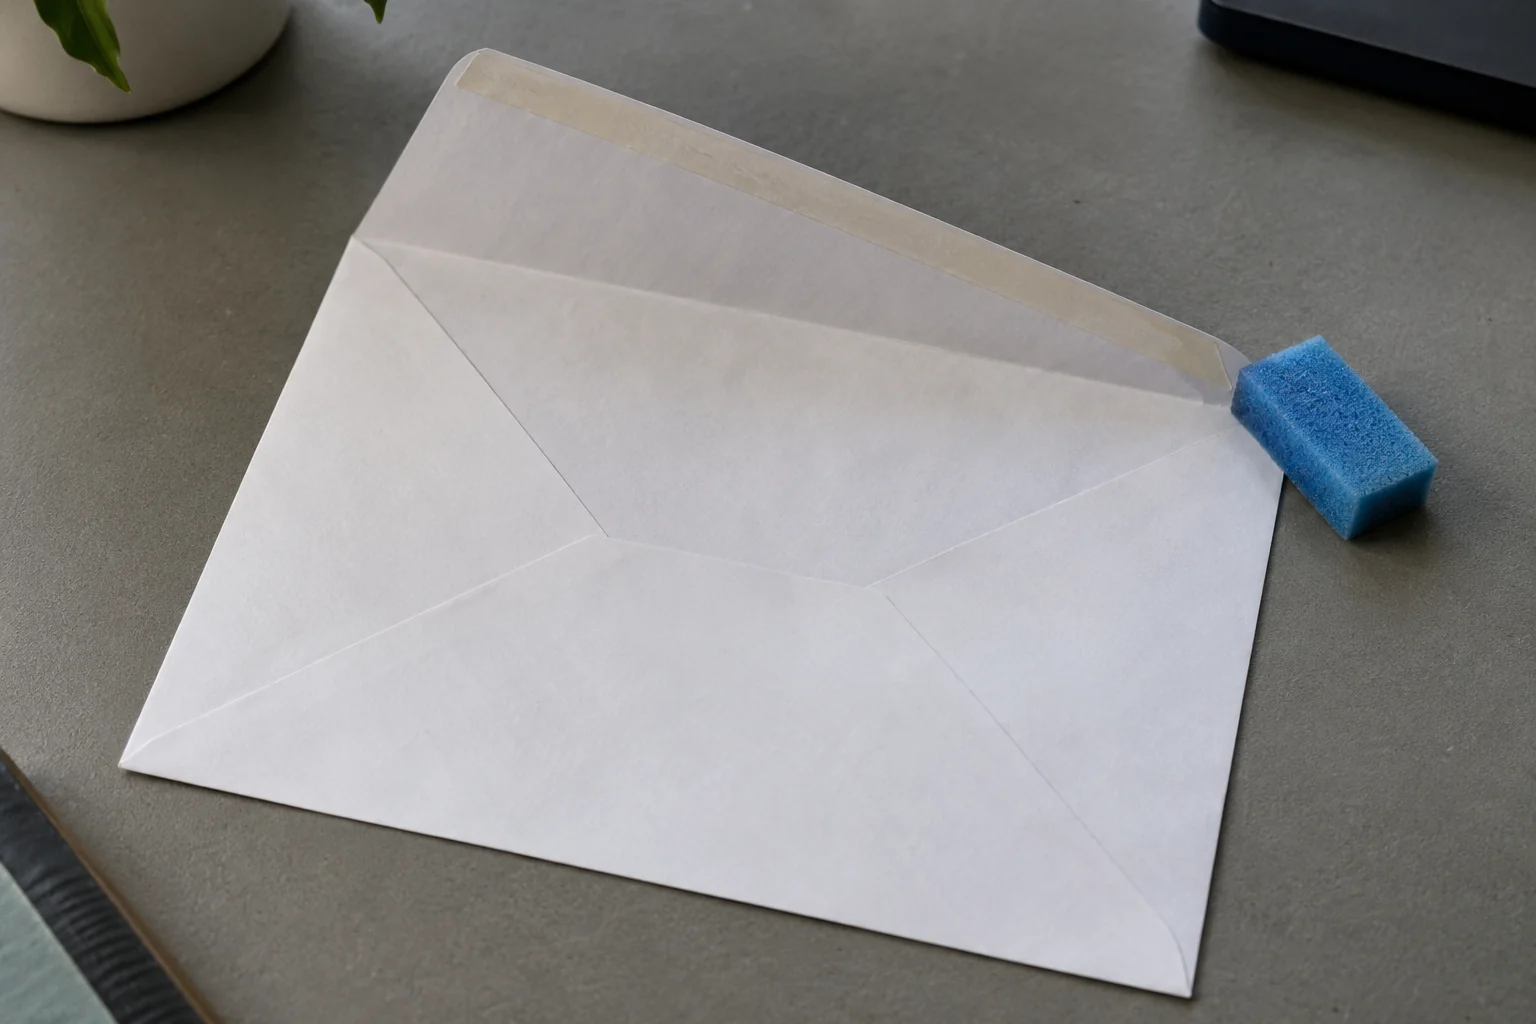
Gummed is a sensible starting point when your existing workflow already moistens flaps. It adds a wetting action in hand work, but that same action can be part of a machine’s sealing cycle. Check the exact machine specification before changing envelope stock.
The coating is separate from the permanent seam adhesive holding the pocket together. For that distinction and where each adhesive enters production, see how envelopes are made.
Latex self-seal: two bands must meet
In a latex cohesive closure, the adhesive is applied in two patterns that adhere to one another when pressed together. There is no release strip to peel off. Blake describes this as self-seal and also lists alternative names used for it.
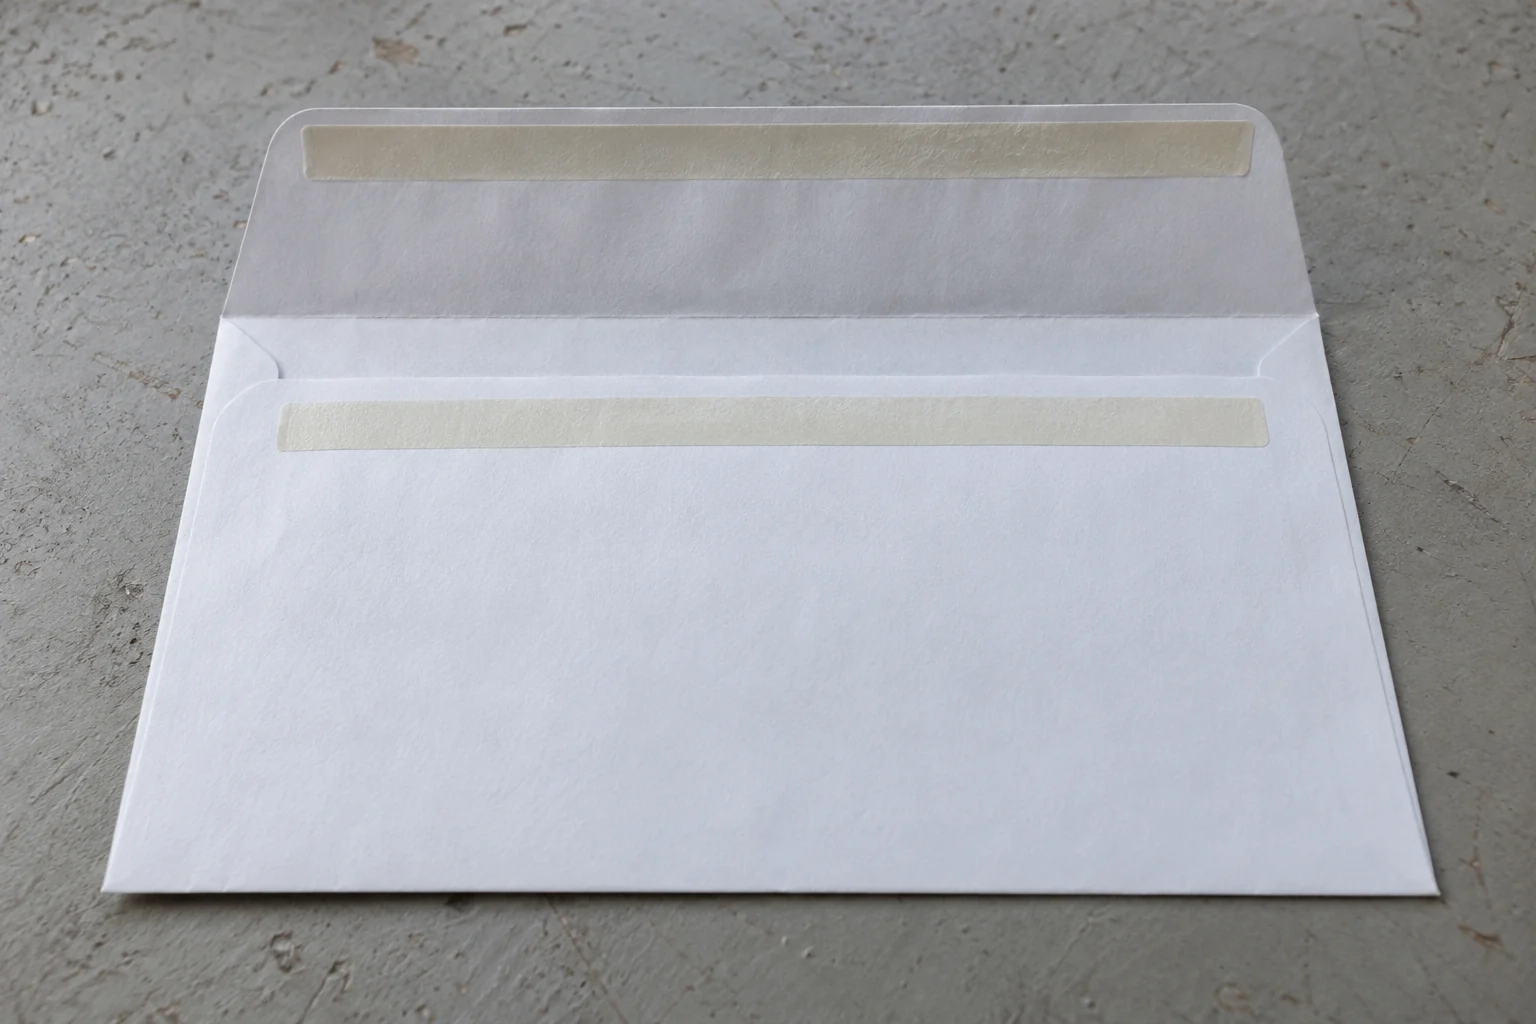
For hand filling, this removes both wetting and liner removal. The practical check is whether the bands meet properly with the intended contents inside. Do not substitute an empty-envelope check for the filled sample you plan to mail.
The exposed bands also make storage part of the choice. EMA warns that heat, ultraviolet light, sunlight and dust can reduce the usable life of latex cohesive envelopes. If your stock sits in an open tray beside a window, change that storage practice and obtain the supplier’s instructions before buying a larger batch.
Peel-and-seal: remove the liner, then press
A liner-backed closure keeps a tacky pressure-sensitive adhesive covered until use. Peeling off the release paper exposes the band, after which the flap is pressed down. This is a different construction from the two mating bands of latex cohesive self-seal, even when a retailer calls both “self-sealing.”
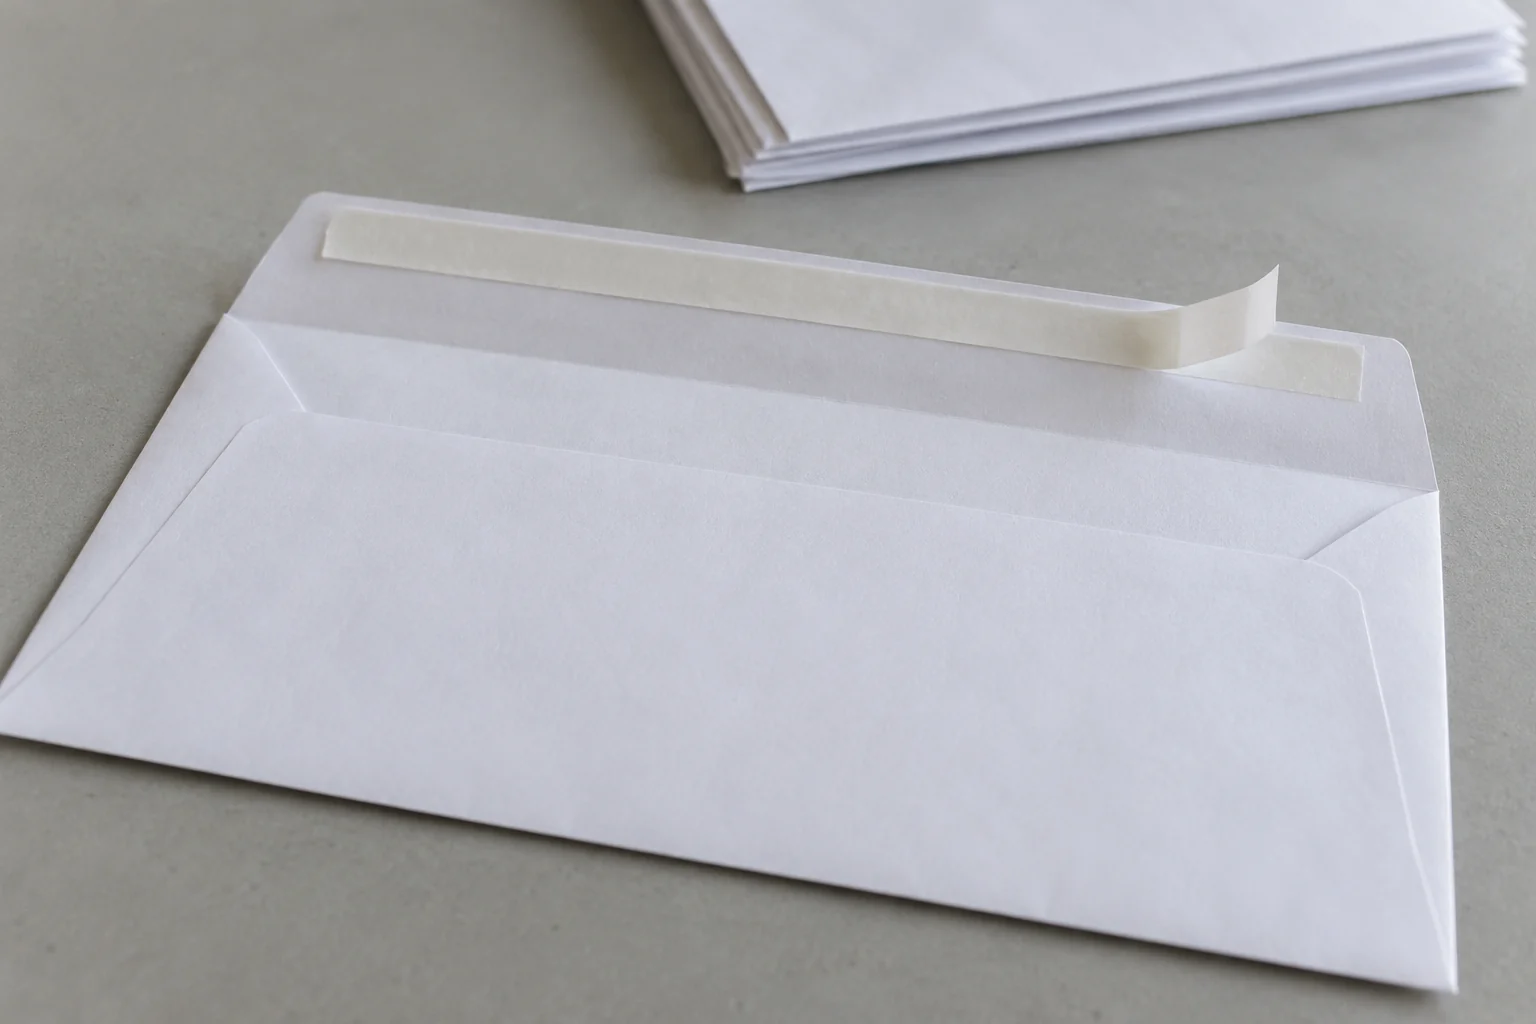
For occasional hand mailing, peel-and-seal is worth considering when you want to avoid wetting and prefer a covered adhesive band. Your workflow still needs a liner-removal action and a place for the discarded strips. Compare a filled sample with your current method before assuming a time saving.
Do not infer the adhesive chemistry, permanence or resistance to opening from the release strip alone. Tension’s closure guide describes both resealable and single-use pressure-sensitive products. Those are product properties to confirm, rather than a universal security ranking for every self-seal envelope.
Choose around the job you actually run
Hand filling: compare the actions at the table
For a small batch, start with the action you can perform consistently: moisten and press, align two bands and press, or peel and press. Use the actual insert and your normal table setup. Check that the flap reaches its intended position and the closure contacts along the intended band. For wider construction choices, use the mailing envelope types guide.
There is no documented universal speed winner in this comparison. Record your own handling time if labor is a deciding factor, including wetting or liner disposal and any envelopes you must reseal or replace.
Machine work: separate inserting from sealing
A machine may be able to fill an envelope without being able to seal it. The Pitney Bowes DI880 Operator Guide, page 141, illustrates why that distinction matters: it recommends moisture-activated gum for sealing. It permits certain liner-backed “strip and grip” envelopes only for inserting, with sealing switched off and testing required; it excludes other methods such as self-adhering latex.
That is a requirement for the equipment covered by that manual, not a rule for every inserter. Obtain the current envelope specification for your exact machine and configuration. Confirm flap shape, adhesive type and whether the job is fill-only or fill-and-seal before substituting stock. A liner-backed envelope that can be filled may still need hand finishing afterward.
Stored stock: verify dates and conditions together
Shelf life is not one fixed number for each retail closure name. Blake publishes different storage-life statements for different adhesive constructions; they should not be transferred to another supplier’s stock. Get the manufacture or lot date, the supplier’s stated usable period, and the storage conditions attached to that statement.
EMA recommends keeping cartons closed, dry, away from direct sunlight and off the floor. Its storage guidance also explains that humidity can prematurely activate remoistenable gum and make envelopes stick together, a problem called blocking. A release liner does not remove the need to follow storage instructions.
Cost: compare the finished job
Compare like-for-like envelope size, paper, printing and order quantity, then account for your sealing labor, consumables, finishing steps and unusable stock. A lower unit purchase price alone does not establish a lower cost for the completed mailing. This article gives no price ranking because those inputs have not been established.
A stock record to complete before ordering
Copy the table below into your purchasing notes. Leave a field empty until you have the supplier document or sample that answers it; the blank cells deliberately carry no assumed lifespan or storage range.
| Record | What to verify | Confirmed value |
|---|---|---|
| Supplier and exact stock code | A repeatable product identity, not just “self-seal” | |
| Closure mechanism | Remoistenable, two-band latex cohesive, or liner-backed pressure-sensitive | |
| Adhesive description / document | Supplier’s identification and applicable instructions | |
| Manufacture or lot date | Traceable date or batch reference | |
| Stated shelf life | Period, starting date and conditions for this stock | |
| Storage conditions | Supplier’s temperature, humidity and light restrictions | |
| Equipment approval | Exact machine, configuration, fill-only or fill-and-seal | |
| Filled-sample check | Insert, flap contact, closure result and date checked |
Before accepting a batch, compare the supplied closure with the sample you approved. Set aside envelopes that are stuck together before use, have damaged liners, or fail to close under the supplier’s instructions. Confirm whether affected stock should be replaced rather than assuming extra pressure or added tape resolves the underlying issue.
For hand work, choose the closure whose handling steps and storage instructions fit your setup. For automatic sealing, start with the machine’s approved envelope specification. Keep the completed stock record with the order so the next purchase repeats the same construction. The envelope materials overview connects closure choice with paper, windows and construction.
Sources and method
Source documents were read on 16 October 2026. This is a comparison of published industry and manufacturer guidance; no envelopes, seal strengths, shelf lives or machine throughputs were tested for this article. EMA supplies the technical distinction between the three adhesive mechanisms. Blake and Tension show manufacturer terminology and product-specific cautions. The DI880 manual supplies one expressly limited equipment example.
The stock record and workflow recommendations are editorial tools. Exact chemistry, lifespan, machine approval and closure performance remain matters for the identified stock and its instructions. See the editorial policy for the site’s source standards.
Sources
- The EMA Guide to Envelopes and Mailing (Envelope Manufacturers Association)
- Sealing Methods (Blake Envelopes)
- Envelope Basics: Closures (Tension)
- DI880 Operator Guide, Sealing Methods, page 141 (Pitney Bowes)